I’ve been experimenting with the Arduino MIDI library. The code is available to download here. WIth the library installed using MIDI is simpler and your code is clearer. The MIDI library is initialises in the void setup(); function by inserting the line
MIDI.begin();
Then the code to start a note playing is
MIDI.sendNoteOn(36,127,1);
and to stop the same note is
MIDI.sendNoteOff(36,0,1);
In both these functions the first variable is the note value, in this case C2, the second variable is the velocity and the final variable is the channel.
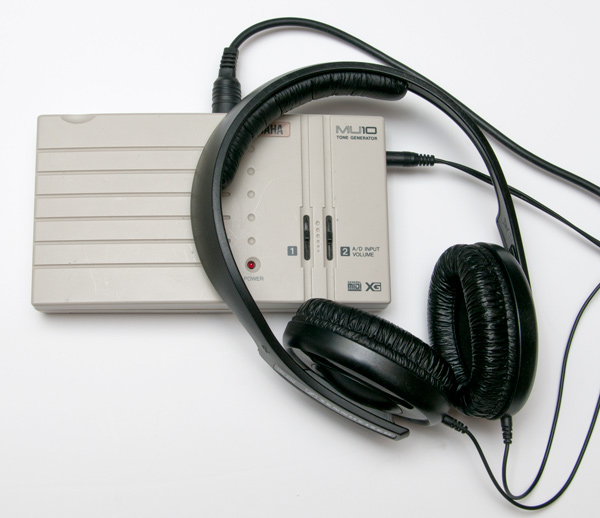
In the meantime I have got my hands on a Yamaha MU10 tone generator from eBay.

This simplifies things considerably as I’m not having to use the computer as both editing station for the Arduino and MIDI playback device.
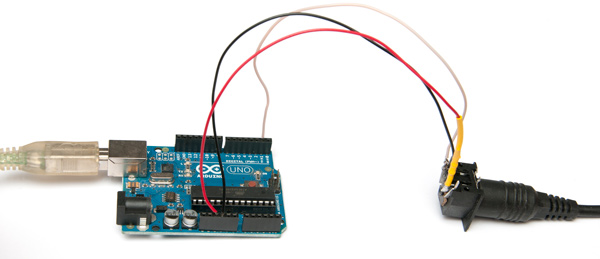
And so, back to basics. I’ve rigged up an Arduino with a MIDI port , connected it to the MU10 and have been experimenting with the MIDI library.

The first batch of code is a simple test. It turns on one note, turns on a second note then turns them both off one after the other.
// Experimenting with Arduino MIDI library.
// Rob Ives 2012
// This code is realeased into the Public Domain.

#include <MIDI.h>
#define LED 13   		// LED pin on Arduino board

void setup() {
  pinMode(LED, OUTPUT);  //Set pin 13 , the led, to output
  MIDI.begin();          // initialise MIDI
}

void loop() {
   MIDI.sendNoteOn(36,127,1);  // Send a Note (pitch 36 (C2), vel.127  ch. 1)
   digitalWrite(LED,HIGH);     // turn on the LED
   delay(1000);		// Wait for a second
   MIDI.sendNoteOn(42,127,1);  // Send a second Note (pitch 42, vel.127  ch. 1)
   delay(1000);		// Wait for a second
   MIDI.sendNoteOff(42,0,1);  // Send a Note (pitch 42, vel.127  ch. 1)
   delay(1000);		// Wait for a second
   MIDI.sendNoteOff(36,0,1);   // Stop the note
   digitalWrite(LED,LOW);      //turn off the LED
   delay(1000);		// Wait for a second
}